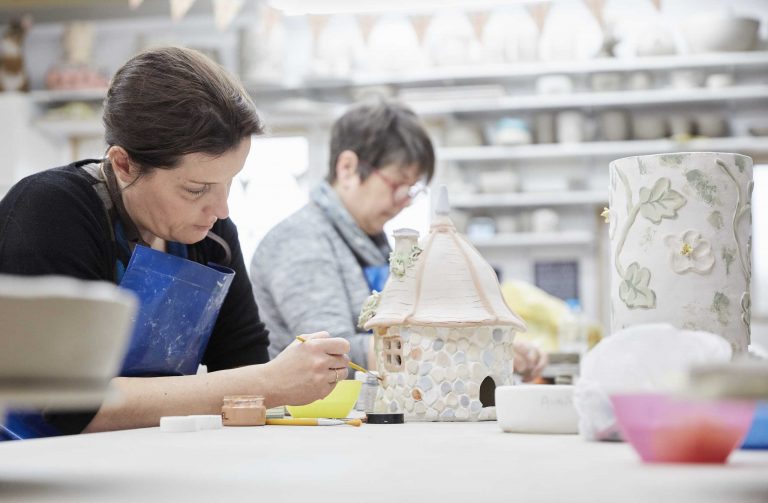
Sculpting your miniature masterpiece is only part of the journey. To truly bring your creation to life, painting and finishing techniques are essential. These steps add depth, personality, and longevity to your work, turning raw clay into a polished treasure.
Preparing Your Sculpture for Painting
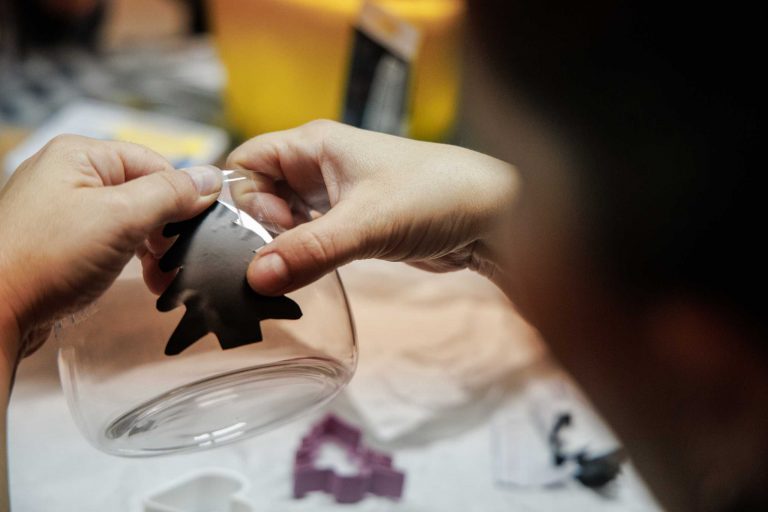
Before you pick up a brush, proper preparation ensures the best results:
- Clean the Surface:
Remove dust, fingerprints, or grease gently with a soft cloth or mild soap and water. - Seal the Clay:
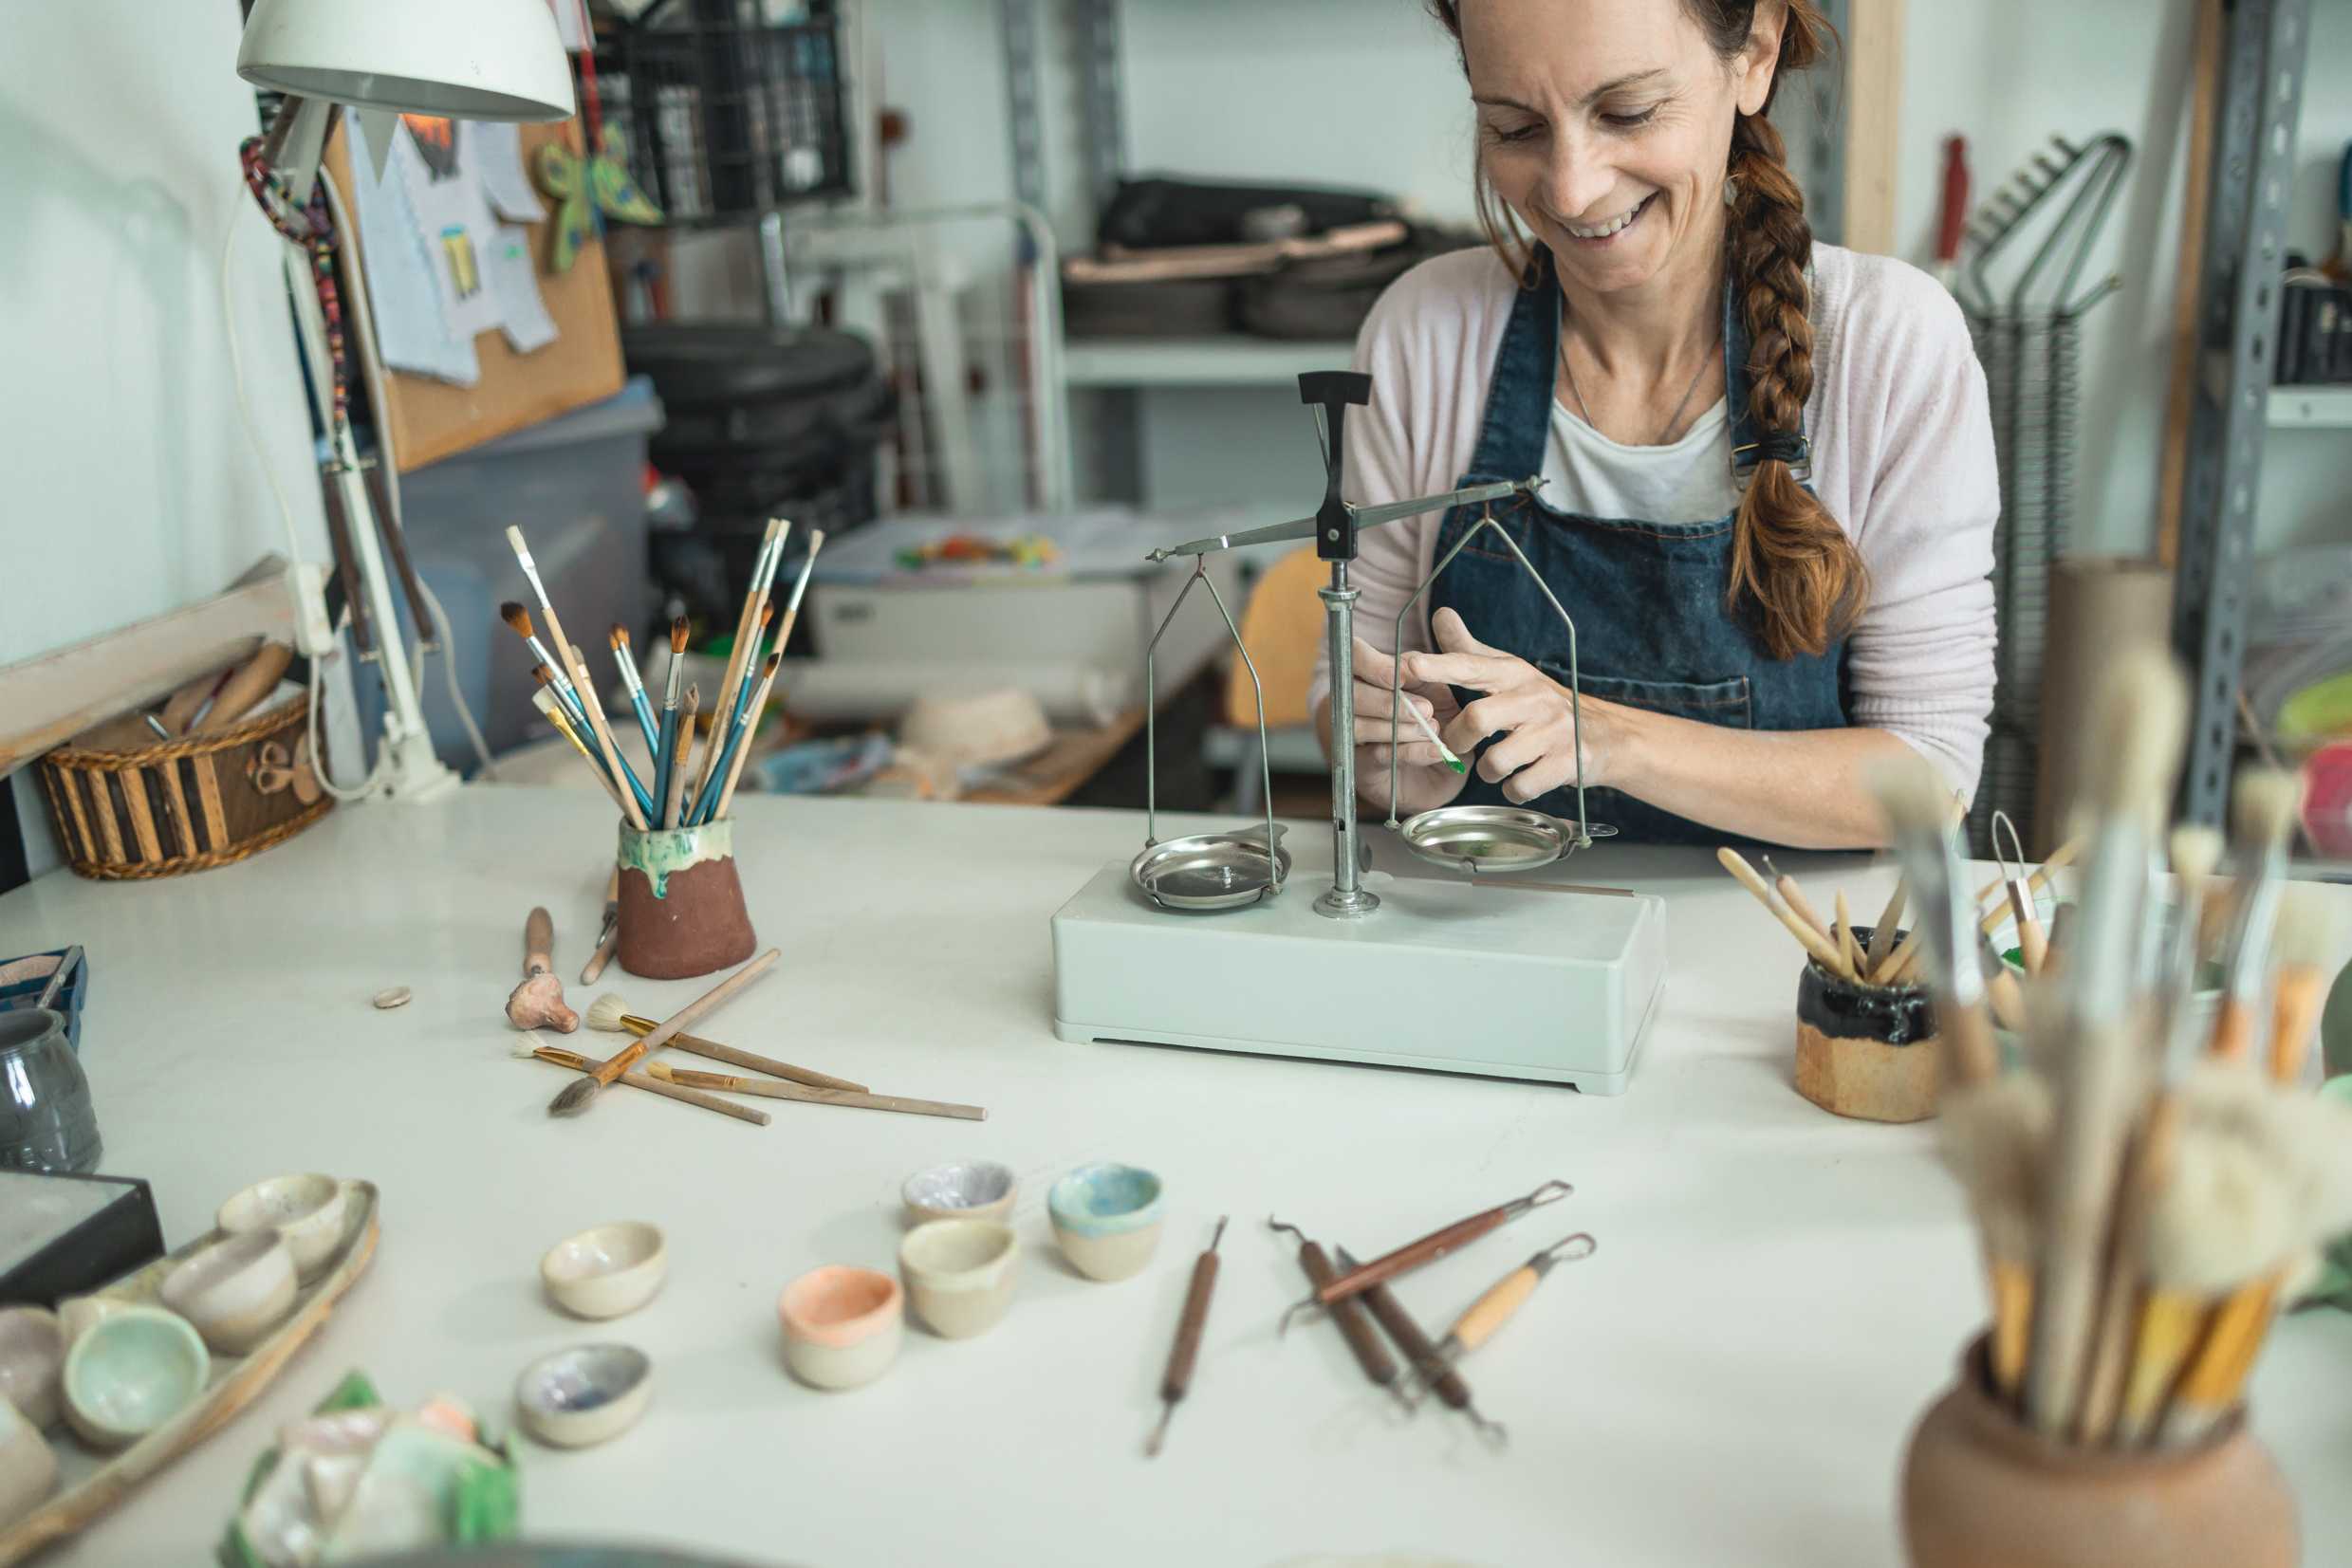
Some clays, like polymer clay, benefit from a thin layer of primer or sealant to create an even base. - Choose the Right Paints:
Acrylic paints are the most popular choice for miniatures due to their vibrant colors, quick drying time, and ease of use.
Painting Techniques to Elevate Your Miniatures
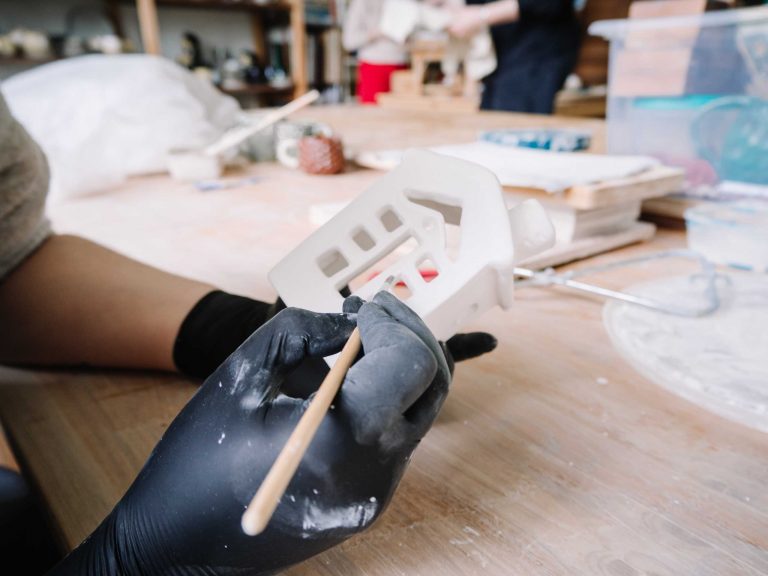
- Base Coating:
Apply a solid base color to cover the entire miniature evenly. - Layering and Blending:
Build up colors gradually with thin layers, blending transitions for realistic shading. - Dry Brushing:
Use a nearly dry brush with a small amount of paint to highlight raised surfaces subtly. - Washing:
Apply diluted paint to settle into recesses, enhancing shadows and textures. - Detailing:
Use fine brushes for eyes, textures, or other small elements that bring character to your piece.
Protecting Your Finished Work
To preserve your painted miniatures:
- Use a clear varnish or sealant designed for miniatures to protect against scratches and fading.
- Choose between matte, satin, or glossy finishes depending on your desired effect.
- Handle your pieces with care, ideally displaying them in a dust-free case.
Final Thoughts
Painting and finishing transform your miniature from a raw sculpt to a work of art that tells a story. This phase invites creativity, patience, and experimentation, rewarding you with stunning results and the pride of a truly completed piece.